Introduction:
Recording audio is a fundamental skill in various fields, such as podcasting, music production, voiceovers, and more. While professional recording studios are equipped with high-end gear, you can achieve great results with basic audio recording setups. This article provides essential tips to help you get started with basic audio recording, ensuring high-quality results without breaking the bank.
Choose the Right Room:
Selecting the right room for recording is crucial. Ideally, opt for a quiet space with minimal background noise, such as a bedroom or a dedicated home studio. Consider using furniture, carpets, or acoustic panels to minimize echoes and reverberations that can affect the recording quality.
Microphone Selection:
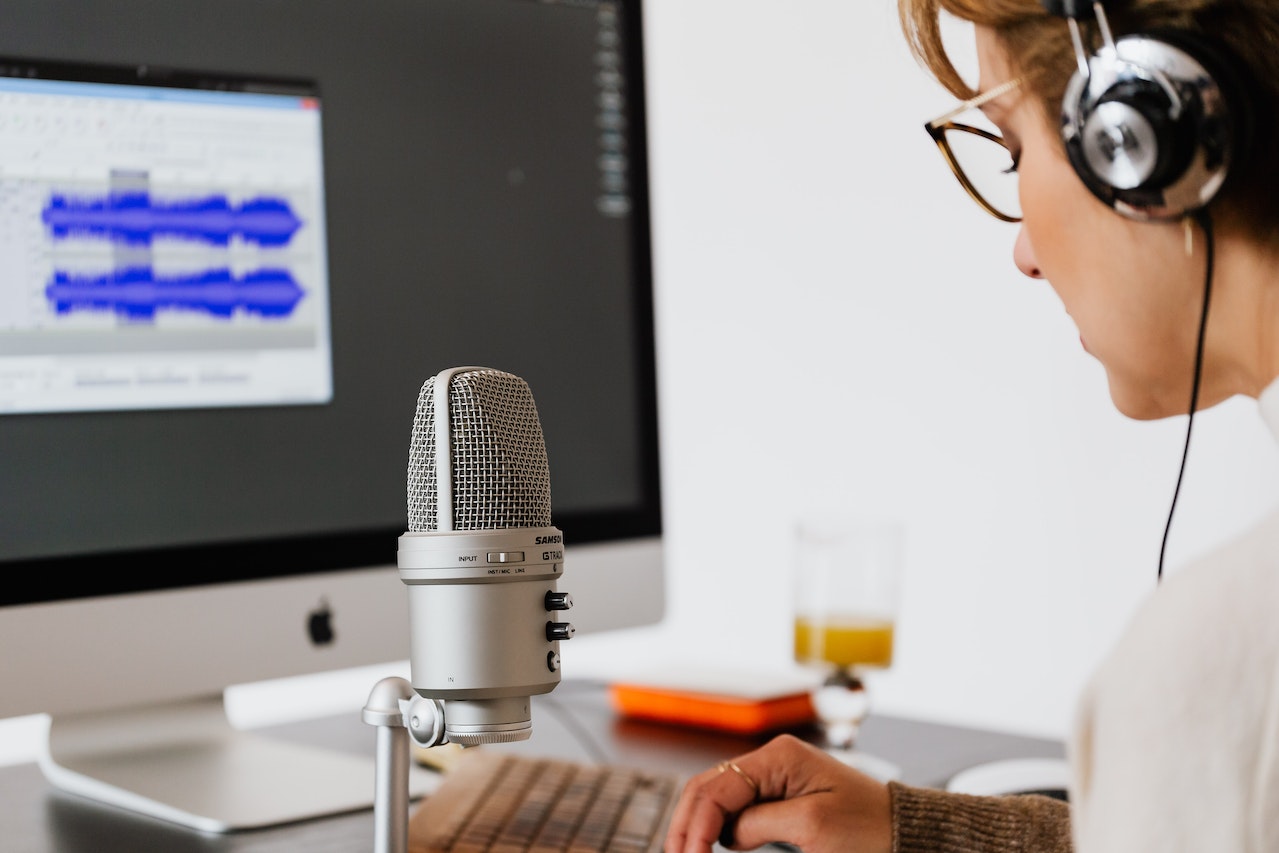
Investing in a good quality microphone is essential for capturing clear and accurate audio. For basic recording needs, a condenser microphone is a popular choice. USB microphones offer convenience and ease of use, eliminating the need for additional audio interfaces or mixers. Consider your specific requirements and budget before purchasing a microphone.
Positioning the Microphone:
Proper microphone placement significantly impacts audio quality. Position the microphone at a suitable distance from the sound source to capture clear audio without distortion. Experiment with different placements and angles to find the sweet spot that works best for your recording.
Pop Filters and Windscreens:
To reduce plosive sounds (such as “p” and “b” sounds) and wind noise, use pop filters or windscreens. These accessories help eliminate unwanted noise caused by bursts of air hitting the microphone, resulting in cleaner recordings.
Monitor Headphones:
Invest in a pair of studio monitor headphones to accurately listen to the audio being recorded. These headphones provide a balanced and accurate representation of the sound, allowing you to identify any issues or inconsistencies during the recording process.
Control Room Ambience:
If you’re recording in a room with hard surfaces, consider adding baffles, foam panels, or blankets to reduce ambient noise and improve sound isolation. This helps minimize unwanted reflections and ensures a cleaner recording.
Check Levels:
Maintaining proper audio levels is crucial for a high-quality recording. Use a digital audio workstation (DAW) or audio interface with level meters to monitor and adjust the input levels. Avoid clipping or distortion by setting levels just below the maximum threshold.
Monitor for Noise:
Before starting the actual recording, listen carefully for any background noise or interference. Turn off fans, air conditioners, and any other devices that could introduce unwanted noise into the recording. Additionally, make sure cables are properly connected to avoid ground hum or buzzing sounds.
Practice and Perform Multiple Takes:
Take the time to practice your performance and conduct multiple takes if necessary. Don’t settle for the first recording, as repetition and refinement often lead to better results. Give yourself the opportunity to improve and capture the best possible audio.
Post-Processing:
After recording, use a DAW or audio editing software to perform basic post-processing tasks. This may include trimming, removing noise, adjusting levels, and applying equalization (EQ) or compression if needed. Familiarize yourself with the editing tools to enhance the overall quality of your recordings.

